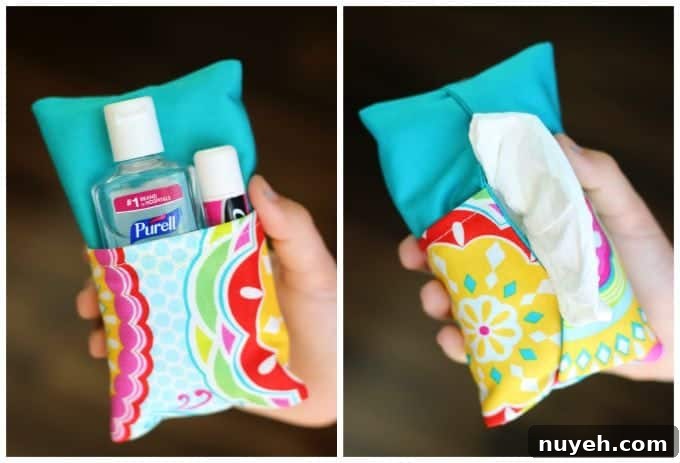
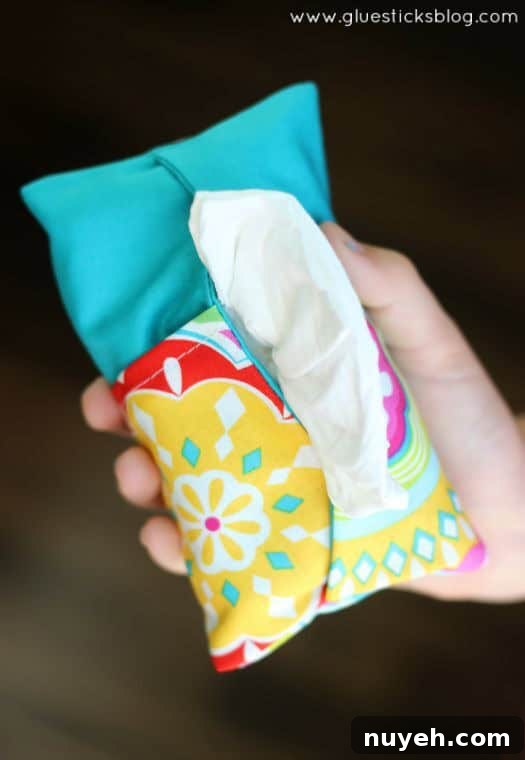
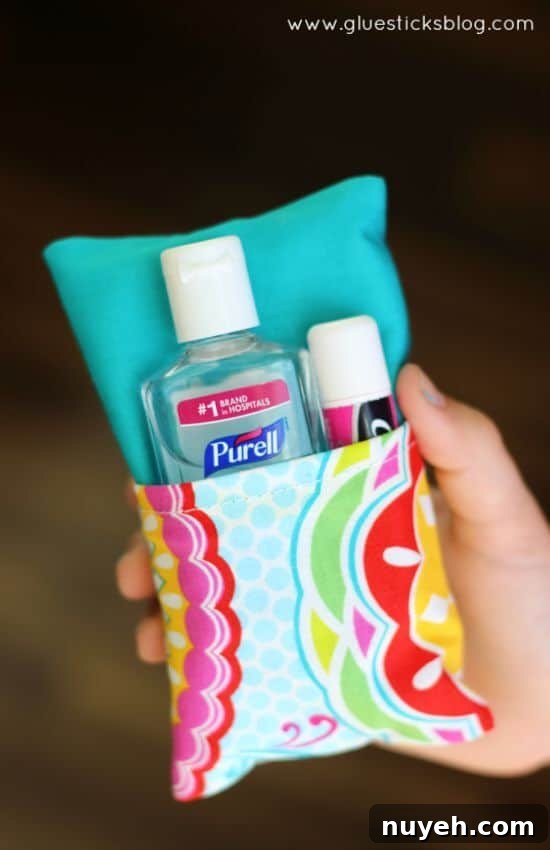
A two-sided tissue holder pouch is an ideal little helper for cold and flu season. One side holds a single pack of tissues and the other keeps a mini bottle of hand sanitizer and a lip gloss within easy reach. Below you’ll find a clear, step-by-step photo tutorial that walks you through a quick sew — perfect for backpacks, purses, or as a simple handmade gift.
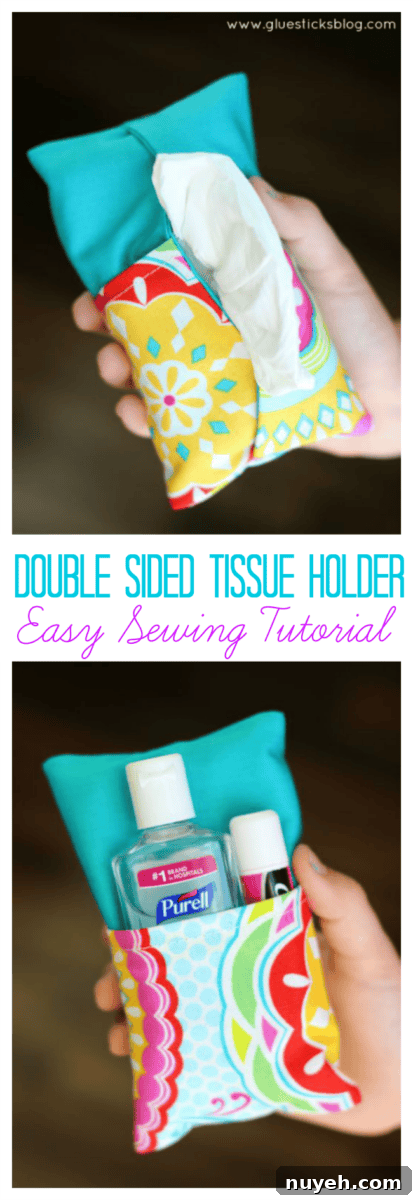
Watch our step-by-step video
If you prefer a visual guide, there is a short video that shows each step of this project. The pouch is fast to make — expect to finish one in under 15 minutes once you have your pieces cut. I made several for my kids’ backpacks and one for my handbag; the single-size tissue packs stay neat and protected and the extra pocket is just the right size for a small sanitizer bottle and a lip gloss or chapstick.
For more sewing projects and ideas, consider exploring beginner-friendly sewing books and pattern collections. Simple projects like this tissue pouch are a great way to build basic sewing skills and create functional items for everyday life.
How to sew a two-sided tissue holder for your purse or backpack
Supplies
- Fabric scraps (cotton quilting weight works well)
- Thread to match
- Measuring tape or ruler
- Tissue pouch or prepackaged single tissue packs (standard size)
- Small bottle of hand sanitizer (mini size)
- Lip gloss or chapstick (optional)
- Sewing machine or needle for hand stitching
- Iron and pressing surface
Fabric tissue holder instructions
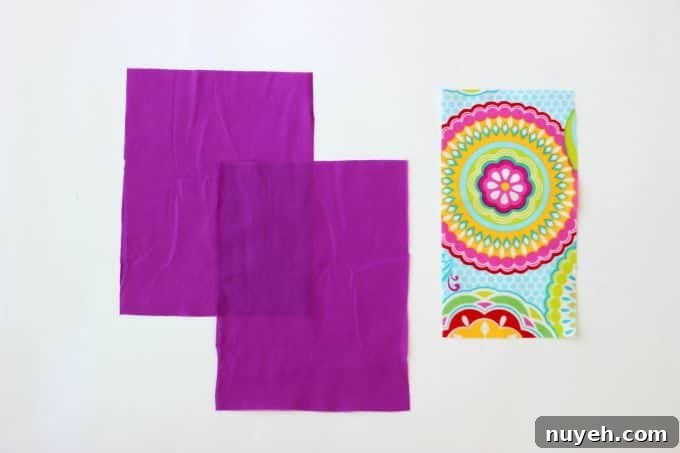
1. Cut your fabric pieces. You need one main fabric for the body and a contrasting fabric for the pocket.
Body: cut 2 pieces at 5 3/4″ x 7 1/2″
Pocket: cut 1 piece at 4″ x 7 1/2″
Use a 1/4″ seam allowance throughout.
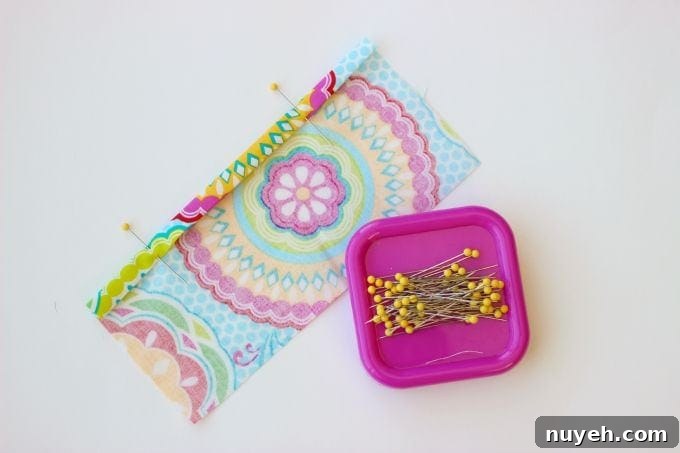
2. Finish the top edge of the pocket. Fold the long edge of the pocket piece down 1/4″, press, then fold down again and topstitch to create a neat finished edge. This becomes the opening edge of the sanitizer pocket.
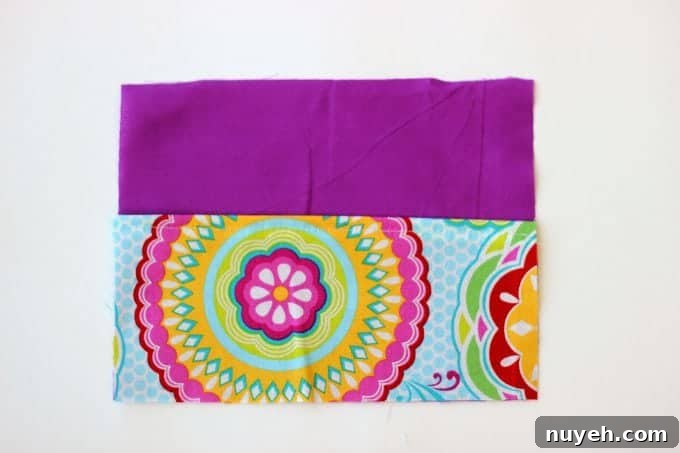
3. Assemble the layers. With both body pieces right side up, place the pocket piece on top of one body piece so the finished edge is along the top. Place the second body piece on top with its right side down so you have a fabric “sandwich” (body, pocket, body).
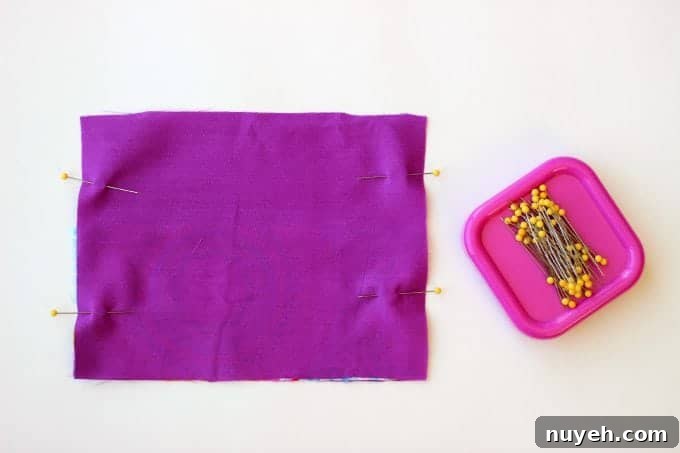
4. Stitch the sides. Pin the sides and sew both side seams, leaving the top and bottom open. Trim seam allowances if desired and remove pins.
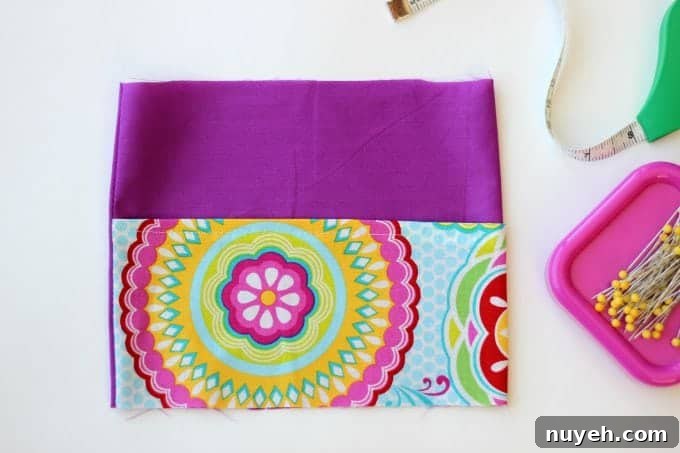
5. Turn right side out and press. Push out the corners and press the seams flat so the piece lies neatly.
6. Orient for folding. Turn the fabric a quarter turn so the bottom of the pocket is on the left side. This makes it easy to fold the pouch into its final shape.
7. Create the top fold. Fold the top down 1 3/4″ toward the center. This will form the top edge of the tissue side of the pouch.
8. Fold bottom up. Fold the bottom up so that the final width of the pouch measures 3″. This gives the pocket depth for sanitizer while leaving the tissue side accessible.
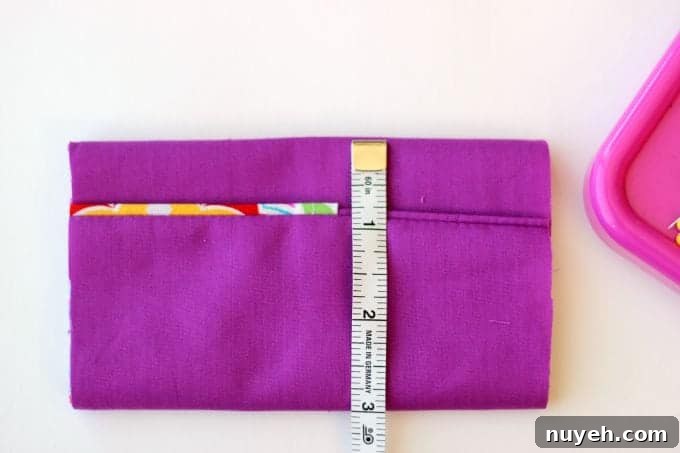
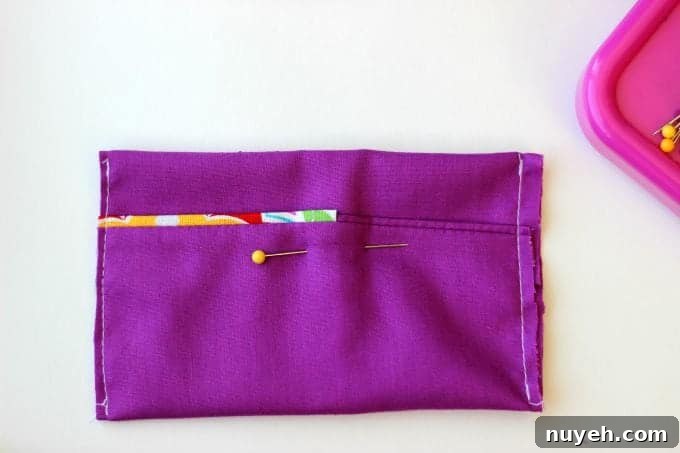
9. Pin and stitch. Pin through the center of the folded pouch to hold everything in place. Stitch both sides closed, then trim the seam allowance close to the stitching for a clean edge.
10. Finish and turn. Turn the pouch right side out once more, push out edges, and press. Your double-sided tissue holder is finished and ready to use.
You’ll want to make several
This double-sided tissue holder is quick, practical, and attractive. Make a few in different fabrics to match backpacks, coats, or to give as small, useful gifts. Keeping tissues, sanitizer, and a lip balm together helps little hands stay prepared and supports good hand hygiene throughout cold and flu season.
This post was sponsored by GOJO Industries, the makers of PURELL®, and contains affiliate references from the original publication. The tutorial is a refreshed version of an original post first shared in 2015.
You might also enjoy trying other simple sewing projects such as printable hand sanitizer labels for teachers, quick fleece hand warmers, or easy pillowcase projects — all great ways to practice basic sewing techniques.
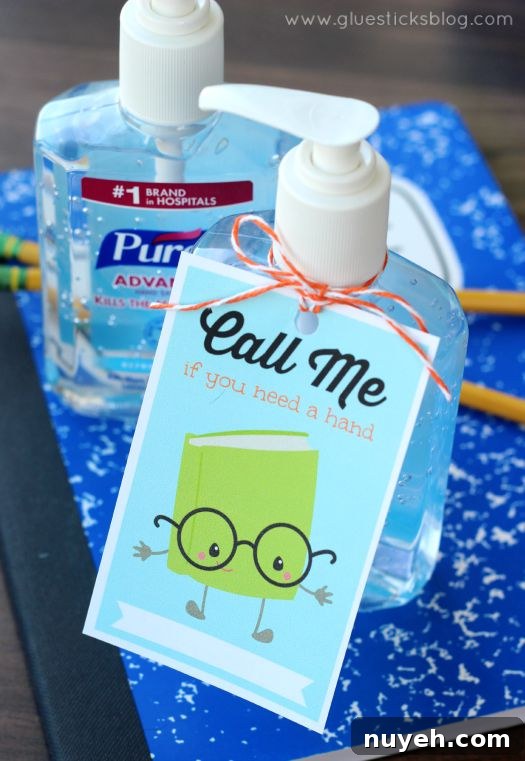
Hand Sanitizer Printable for Teachers
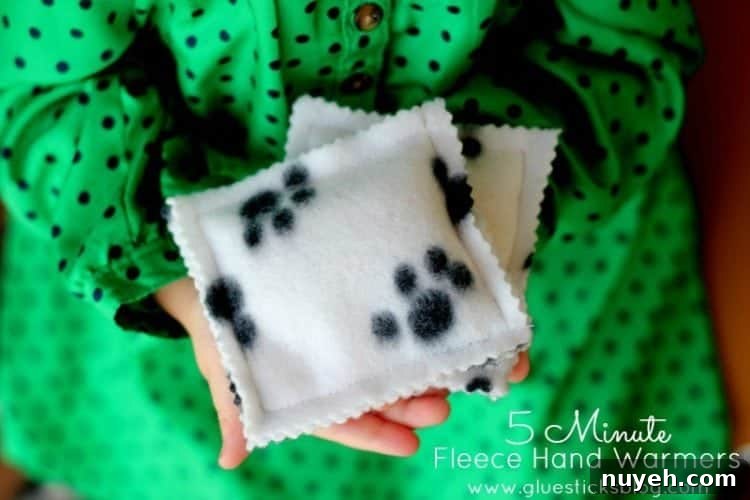
5 Minute Hand Warmers
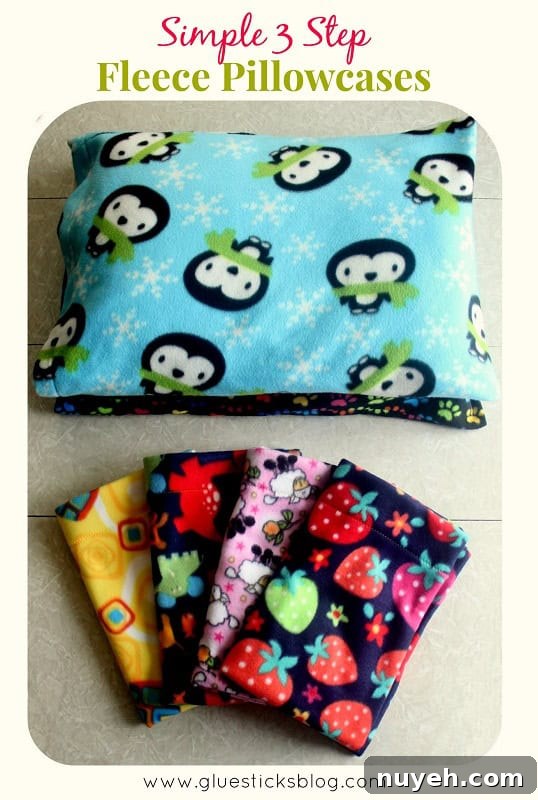
3 Step Fleece Pillow Cases