
Step-by-step directions for canning smoked fish at home. This method uses smoked kokanee, but you can also use smoked salmon or smoked trout.
Canning smoked fish is an excellent way to preserve your catch and make it shelf stable.
Canning fish
You caught the fish and smoked it. The next step is canning. Canning smoked fish makes it shelf stable and easy to transport. Compared with freezing, canned smoked fish retains moisture and flavor better over long-term storage.
To can fish safely you need a pressure canner sized for home canning (about 16–22 quarts). A pressure canner is different from an electric pressure cooker and is specifically designed to reach and hold the higher temperatures needed for low-acid foods.
Preserving your own food is satisfying and practical: you control the ingredients and the handling, and you build a supply of flavorful, ready-to-use food.
Why a pressure canner?
Home canning uses either a boiling-water bath or a pressure canner to remove air from jars and destroy harmful organisms. High-acid foods like jams, jellies, most fruits, and tomatoes can be processed safely in a water bath. Low-acid foods—vegetables, meats, and fish—require a pressure canner. Pressure processing reaches higher temperatures that kill heat-resistant bacteria and spores, making the food safe to store at room temperature.
If you’re new to pressure canning, read the manual for your canner and follow all manufacturer instructions carefully before you begin.
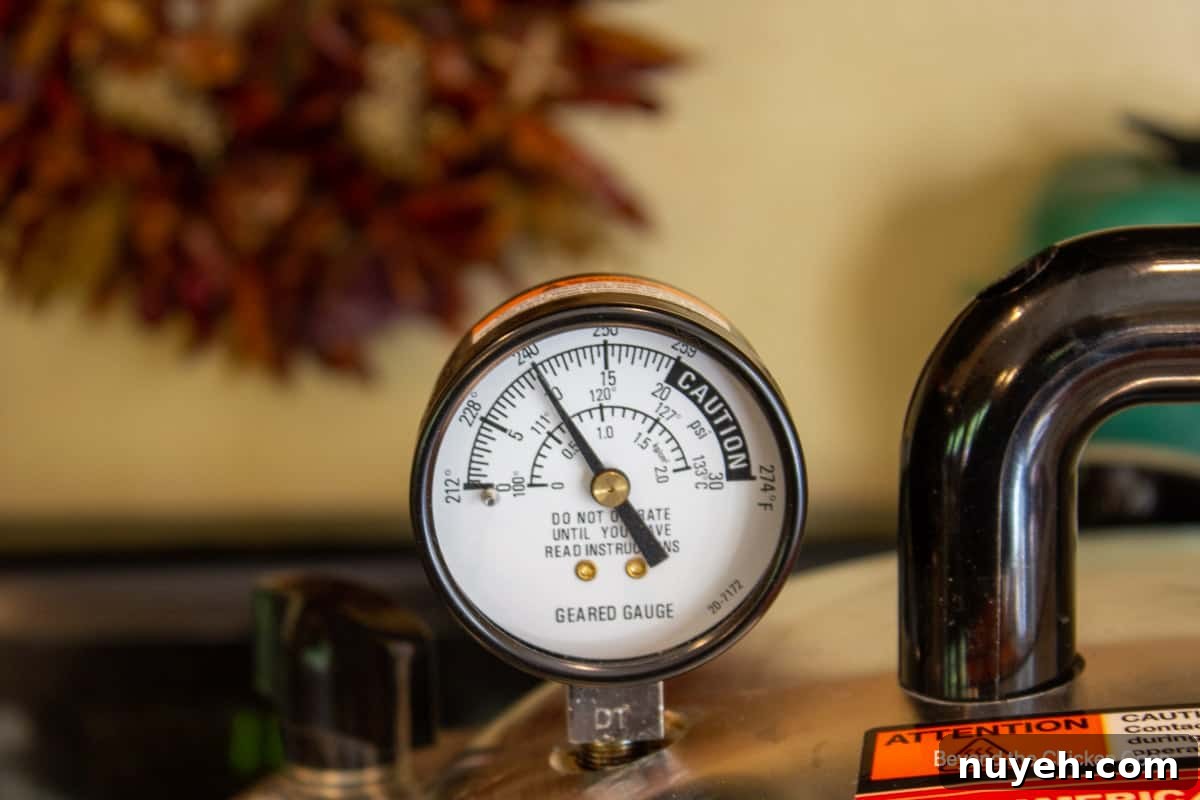
Safety tips for using a pressure canner
- Follow the manufacturer’s instructions for your pressure canner.
- Check the rubber gasket in the lid: replace it if it is bent, cracked, or brittle.
- Ensure the vent and vent cover are free of debris.
- Have the pressure gauge and lid tested periodically for accuracy.
- Adjust pressure for your altitude—see altitude table below.
- Begin timing only after the canner has reached the correct pressure.
- If pressure drops below the required level during processing, you must start the timing over.
- Monitor the canner and make small heat adjustments to maintain steady pressure.
- Do not open the canner or remove the vent cover until pressure returns to zero.
A note on home-canned food
Improperly canned foods can pose a risk of botulism, a serious form of food poisoning. Always follow recognized safety guidelines and inspect jars carefully before eating.
- Always inspect home-canned food before consuming.
- If in doubt, discard the food and the jar. The FDA recommends discarding questionable home-canned food.
- Do not taste food to determine safety.
- Dispose of jars that show any of the following signs:
- bulging, leaking, or swollen lids
- damaged or abnormal containers
- spurting liquid or foam on opening
- mold, discoloration, or off odors
- broken seals or lids that flex when pressed
Equipment
- Pressure canner (16–22 qt) designed for home canning
- Jar lifter
- Canning jars (pint or half-pint recommended)
Ingredients
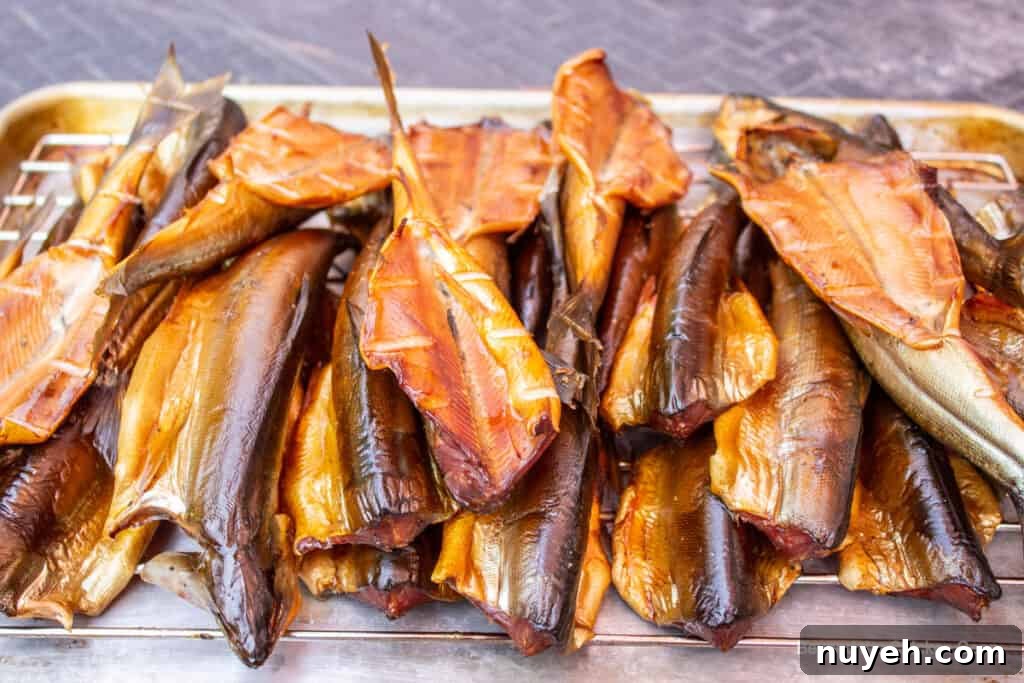
You only need one ingredient: well-smoked fish. Kokanee, trout, or salmon all work. No liquid is added to the jars—during processing the fish releases its own oils, which fill the jar.
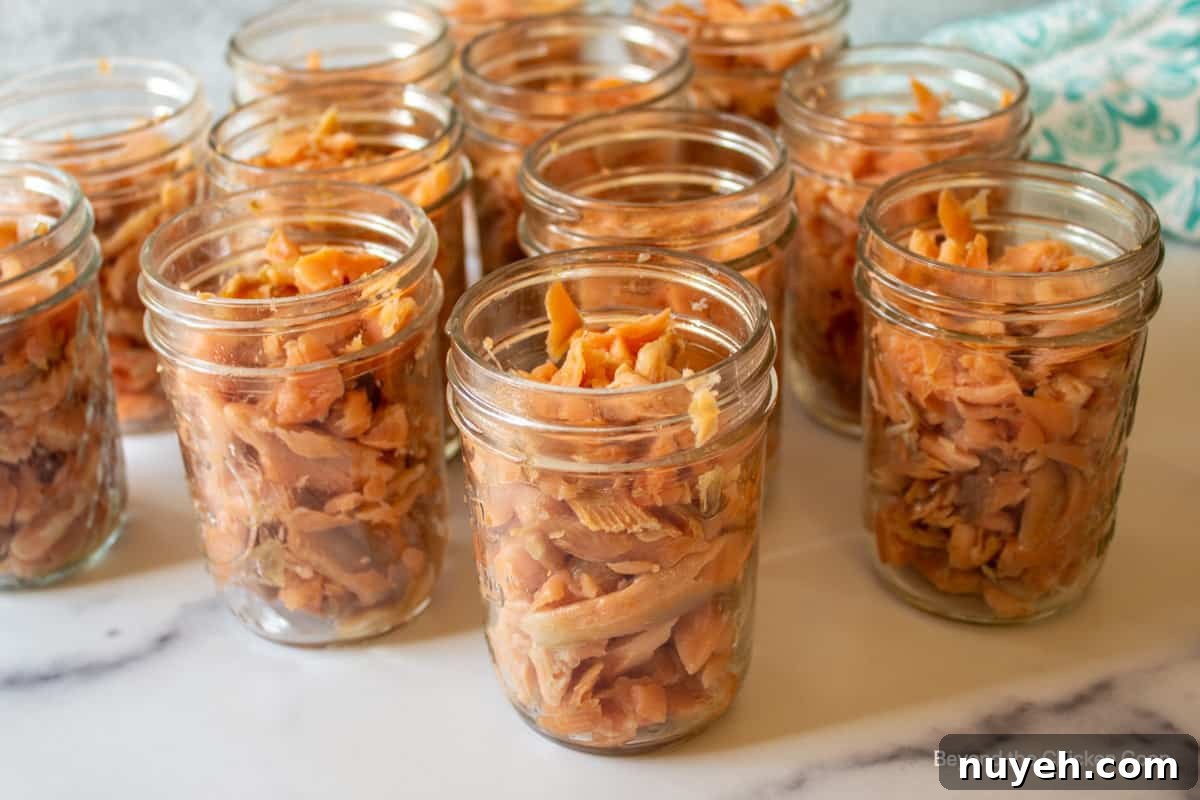
After smoking and cooling, remove skin and bones. For larger fish break the fillets into pieces that will fit into the jars. Leave about 1 inch of headspace when packing.
Step-by-step directions
The following are clear, practical steps for canning smoked fish. Read through the full set of instructions before you begin so you understand the sequence and timing.
- Wash jars and screw bands in the dishwasher or hot, soapy water and rinse well. Lids do not need to be boiled.
- Prepare fish by removing skin and bones. Break into pieces as needed to fit jars.
- Pack pieces of fish into jars, leaving 1 inch headspace.
- Wipe the jar rims with a clean, damp cloth to remove oil and fragments so lids can seal properly.
- Place lids on jars and screw bands on snugly—firm, but do not over-tighten.
- Pour at least 4 inches of water into the bottom of the pressure canner and place the heat diffuser or rack in the bottom.
- Arrange jars in the canner. If you stack jars in multiple layers, place a diffuser between layers.
- Lock the lid and leave the steam vent uncovered. Heat to high.
- When a steady stream of steam exits the vent, begin timing and vent for 10 minutes to flush air from the canner.
- After 10 minutes, place the vent cover and allow pressure to build.
- Process at the pressure required for your altitude (see table). For sea level recipes and many guidelines this is often 10–11 lb, but follow the altitudes listed below for exact settings. Process for 110 minutes.
| Altitude Feet | Pounds of Pressure |
|---|---|
| 1,001–2,000 2,001–3,000 3,001–6,000 6,001–8,000 8,001–10,000 |
11 pounds 12 pounds 13 pounds 14 pounds 15 pounds |
- Maintain a steady pressure throughout processing. If pressure falls below the required level, timing must begin again at the full pressure.
- When processing is complete, turn off the heat and allow the canner to cool and depressurize naturally until the gauge reads zero. This can take 30–60 minutes.
- Remove the vent cover, then open the lid away from you. Use a jar lifter to remove jars and set them on a cooling rack with a towel underneath.
- Do not touch jars while they are cooling. You will hear “pings” as lids seal. Wait until jars are fully cool before removing screw bands.
- Test each lid: the center should be concave and not move when pressed. Any unsealed jar should be refrigerated and consumed soon or the contents discarded.
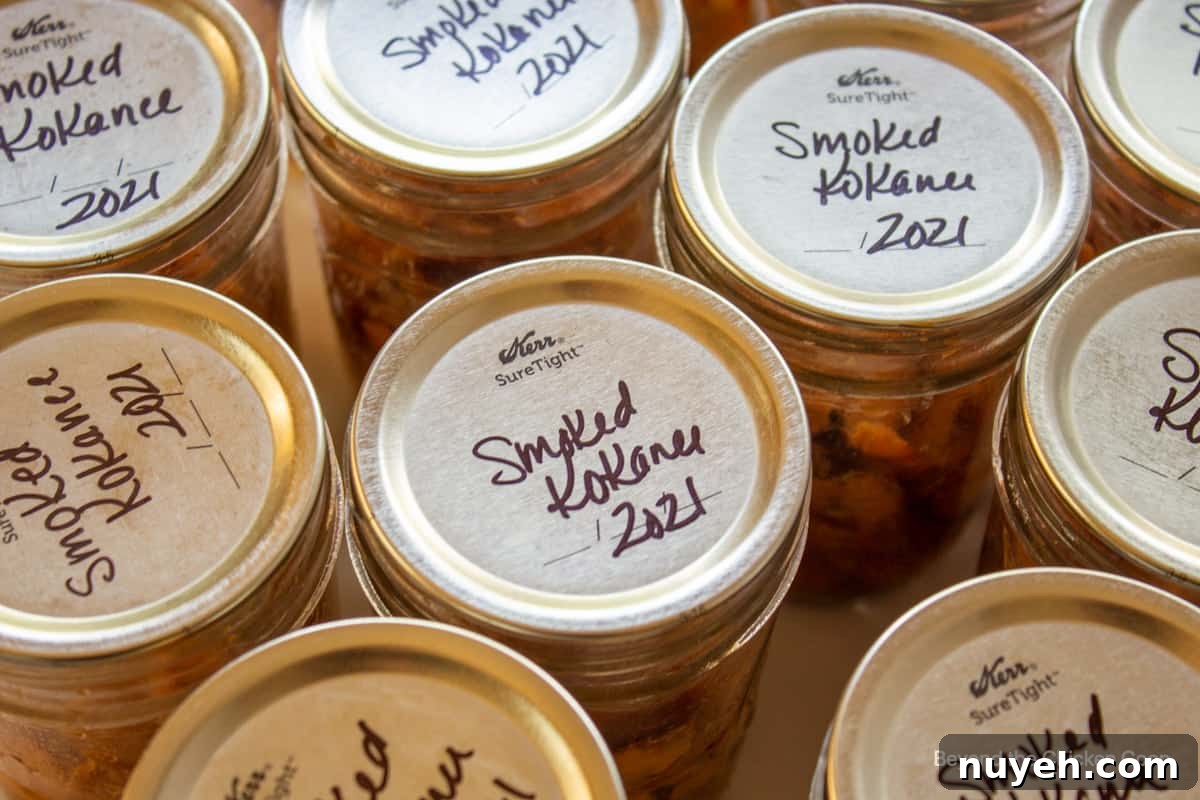
- Wash the outside of jars, label with contents and date, and store in a cool, dark pantry.
Canning tips
- Use freshly smoked, high-quality fish for best results.
- Inspect jars for chips or hairline cracks and discard damaged jars.
- Do not reuse canning lids; use new lids every time.
- This method is for pint or half-pint jars only. Do not use quart jars.
- Always inspect canned fish before eating. If anything looks or smells off, discard the jar without tasting.
Recipe FAQs
Home-canned fish is best consumed within one year for peak quality. It may remain safe beyond that if jars were processed and stored correctly, but texture and color can decline with time. Always inspect jars before use and discard any with signs of spoilage.
Store jars without the screw bands in a cool, dark, dry place with a temperature ideally between 50–70 °F. Label jars with contents and date for easy rotation.
How to use canned smoked fish
Use canned smoked fish just like fresh smoked fish. Open the jar and drain excess oil before serving. Try it on a cheese board, on crackers with cream cheese, mixed into a dip, or flaked into pasta. It also makes a great sandwich filling when mixed with mayonnaise, chopped onions, relish, and diced bell pepper.
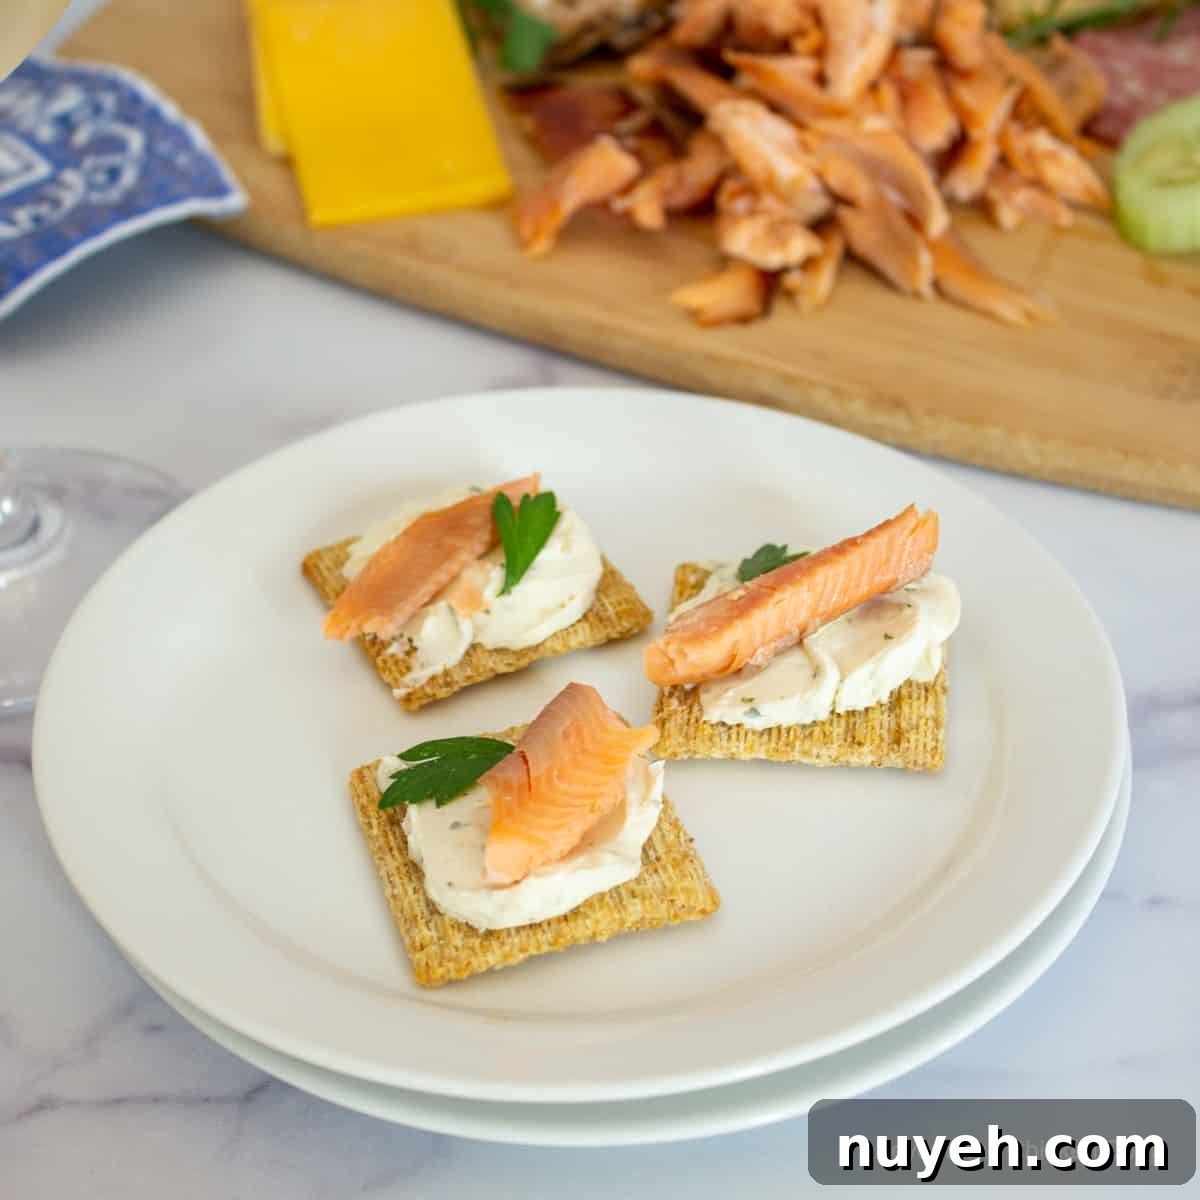
If you try this method, take a photo and save the date—home-canned jars make excellent gifts or pantry staples.
Recipe card
Canning Smoked Fish
Directions for home canning smoked fish using a pressure canner.
Author: Kathy Berget
Yields: about 12 jars (varies by jar size and fish amount)
Prep time: 20 minutes. Cook time: 1 hr 50 min. Processing time: 110 minutes. Total time: approx. 4 hours.
Equipment
- Pressure canner (home-canning model)
- Canning jars (pint or half-pint)
- Jar lifter
Ingredients
- Smoked fish (amount depends on how much you have to can)
Instructions
- Read all instructions first so you understand the full process.
- Wash jars and screw bands; rinse well. Wash lids in hot soapy water.
- Remove skin and bones from smoked fish and pack jars, leaving 1″ headspace.
- Wipe rims clean, apply lids and screw bands snugly.
- Place at least 4″ of water in the canner, set rack or diffuser, and arrange jars.
- Vent steam for 10 minutes with the vent uncovered, then cover vent and bring to the required pressure for your altitude.
- Process for 110 minutes at the pressure noted in the altitude table.
- Turn off heat and allow pressure to return to zero naturally. Remove jars carefully and let cool without disturbance.
- Remove screw bands once cool, test seals, label, and store.
Notes
Use pint or half-pint jars. Do not use quart jars. This method is not recommended for tuna. Inspect jars and contents before use—if in doubt, discard.
Altitude adjustment
- 1,000–2,000 ft: 11 lb
- 2,001–3,000 ft: 12 lb
- 3,001–6,000 ft: 13 lb
- 6,001–8,000 ft: 14 lb
- 8,001–10,000 ft: 15 lb
Source references and additional safety guidance are available from reputable home food preservation authorities and extension services. Follow those recommendations and your canner’s instructions for best results.