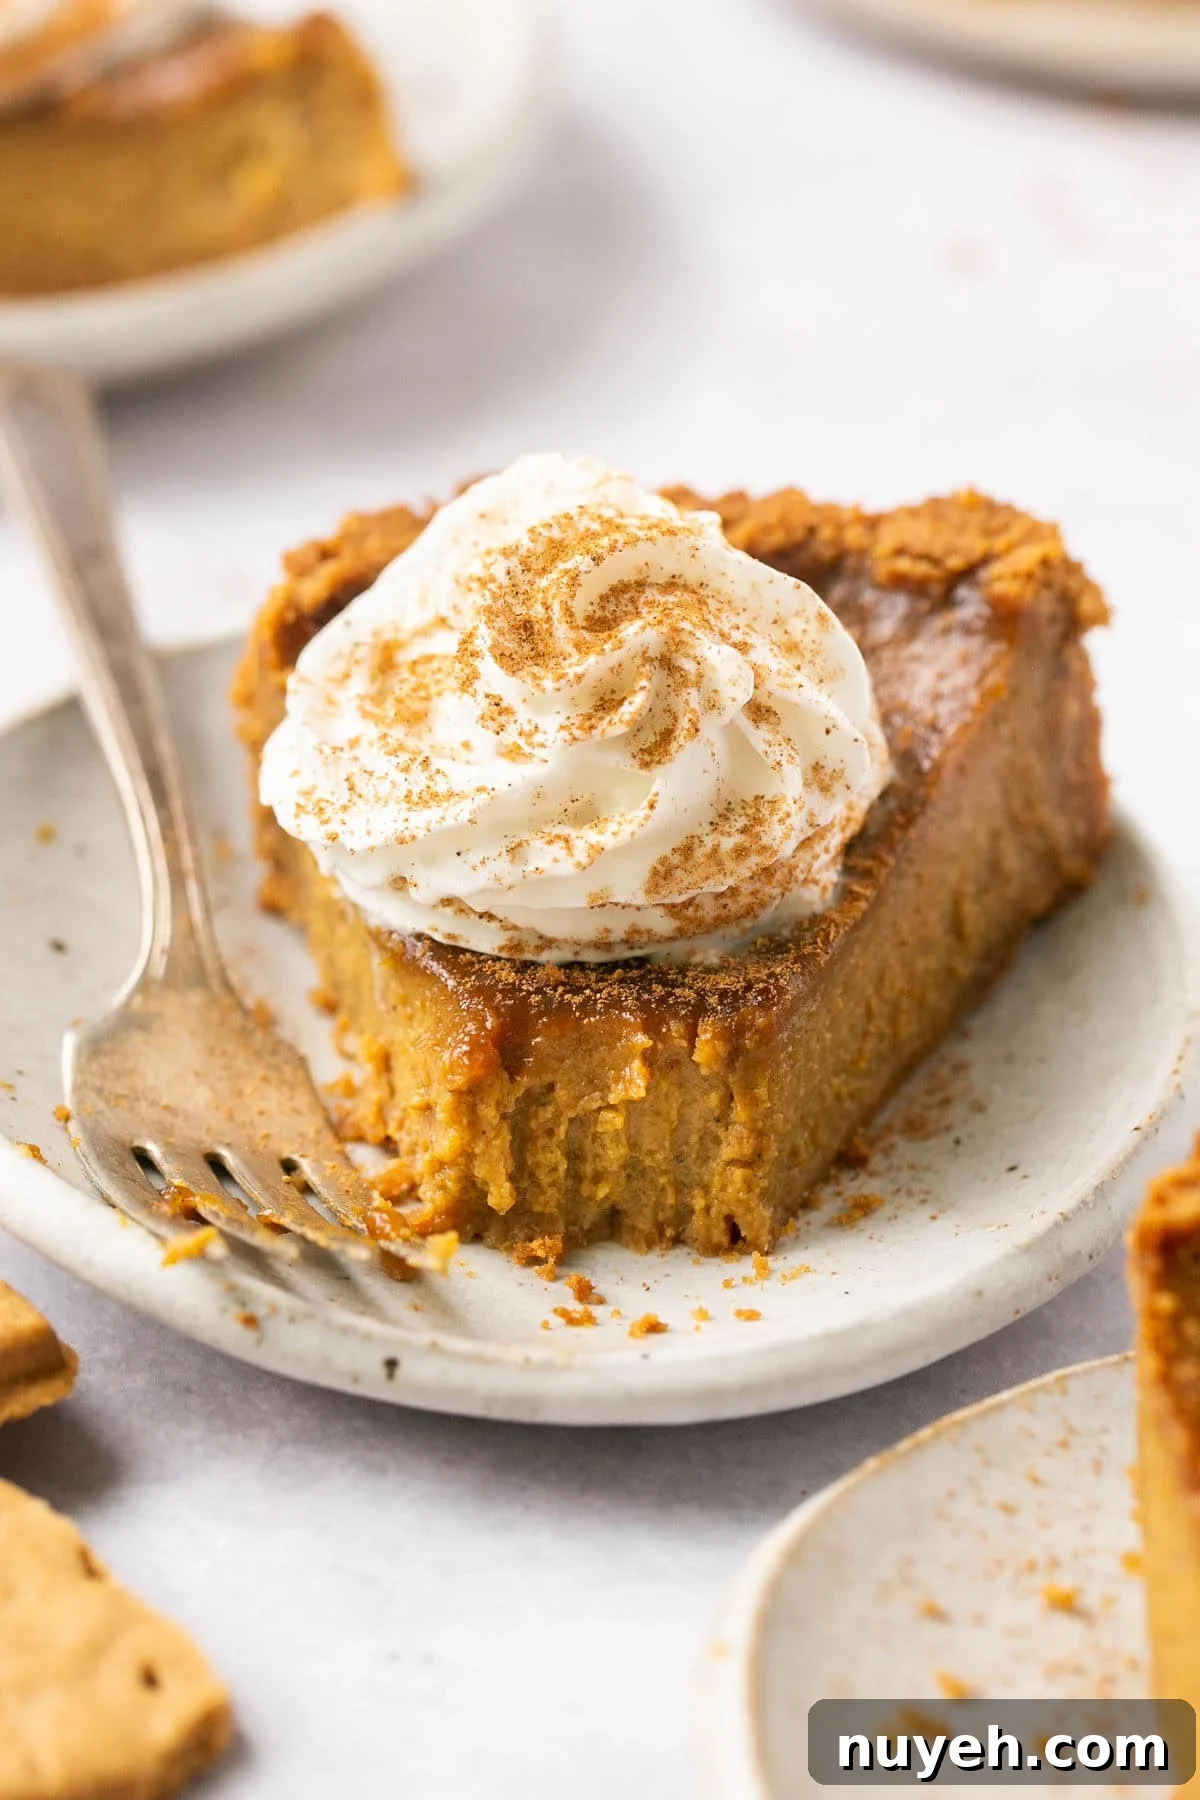
Creamy, smooth pumpkin pie filling paired with a sweet, crunchy gluten-free graham cracker crust makes a perfect seasonal dessert. Ideal for fall gatherings and holiday tables, this easy pumpkin pie is flavorful, simple to make, and adaptable with a dairy-free option.
What Makes This Recipe Great
Autumn brings cozy gatherings, sweater weather, and the urge to serve comforting desserts. This gluten-free pumpkin pie with a graham cracker crust is my go-to for Thanksgiving and other fall celebrations. It balances a classic pumpkin custard with the buttery, slightly crunchy texture of a graham cracker crust—only this version is made gluten-free.
The pie is quick to assemble—about 10 minutes of prep—and the recipe includes a straightforward dairy-free swap if you need it. Because the crust uses gluten-free graham crackers, it’s perfect for anyone avoiding wheat but still craving that familiar graham flavor. The combination of maple syrup and coconut sugar gives the filling a warm, natural sweetness, while pumpkin pie spice brings the seasonal aroma everyone loves.
Ingredient Notes
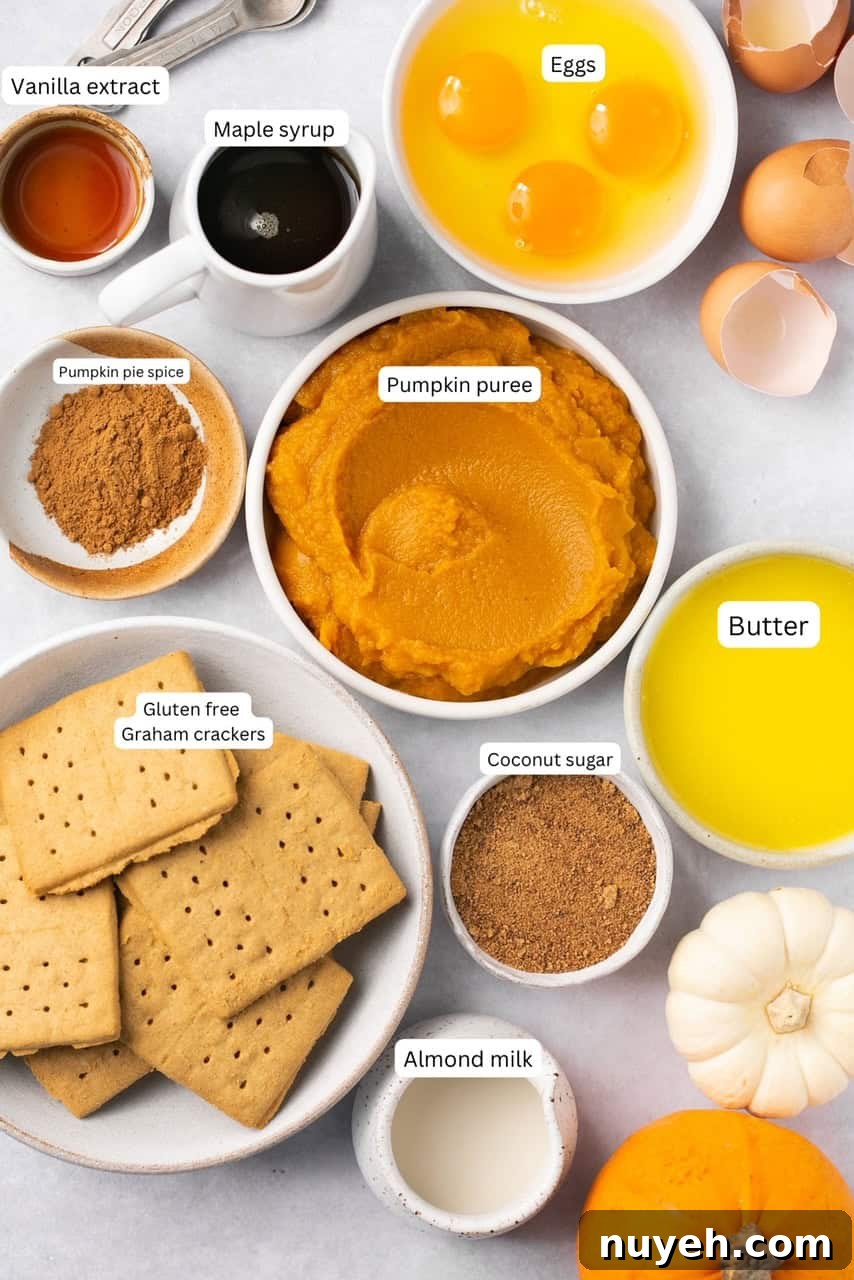
Gluten-Free Graham Crackers: Use a full package or 1.5 cups of crushed gluten-free graham crackers. Any brand of gluten-free graham crackers works well.
Butter: For dairy-free, substitute vegan butter. Regular butter can be used if dairy is not a concern.
Pumpkin Puree: Use pure canned pumpkin (not pumpkin pie filling) for best texture and control over sweetness.
Pumpkin Pie Spice: If you don’t have a pre-made blend, combine 2 tsp cinnamon, 1 tsp ginger, 1 tsp nutmeg, ¾ tsp cloves, and ¾ tsp allspice. Use 1 tbsp + 1 tsp in the recipe and save the remainder.
Milk: I used almond milk, but any non-dairy milk or regular 2%/whole milk will work.
Recipe Highlights
- Gluten-free crust with classic graham flavor
- Rich, creamy pumpkin filling
- 10-minute prep
- Dairy-free option available
- Kid-friendly and crowd-pleasing
- Great for Thanksgiving and fall gatherings
Recipe Step by Step
Graham Cracker Crust Recipe
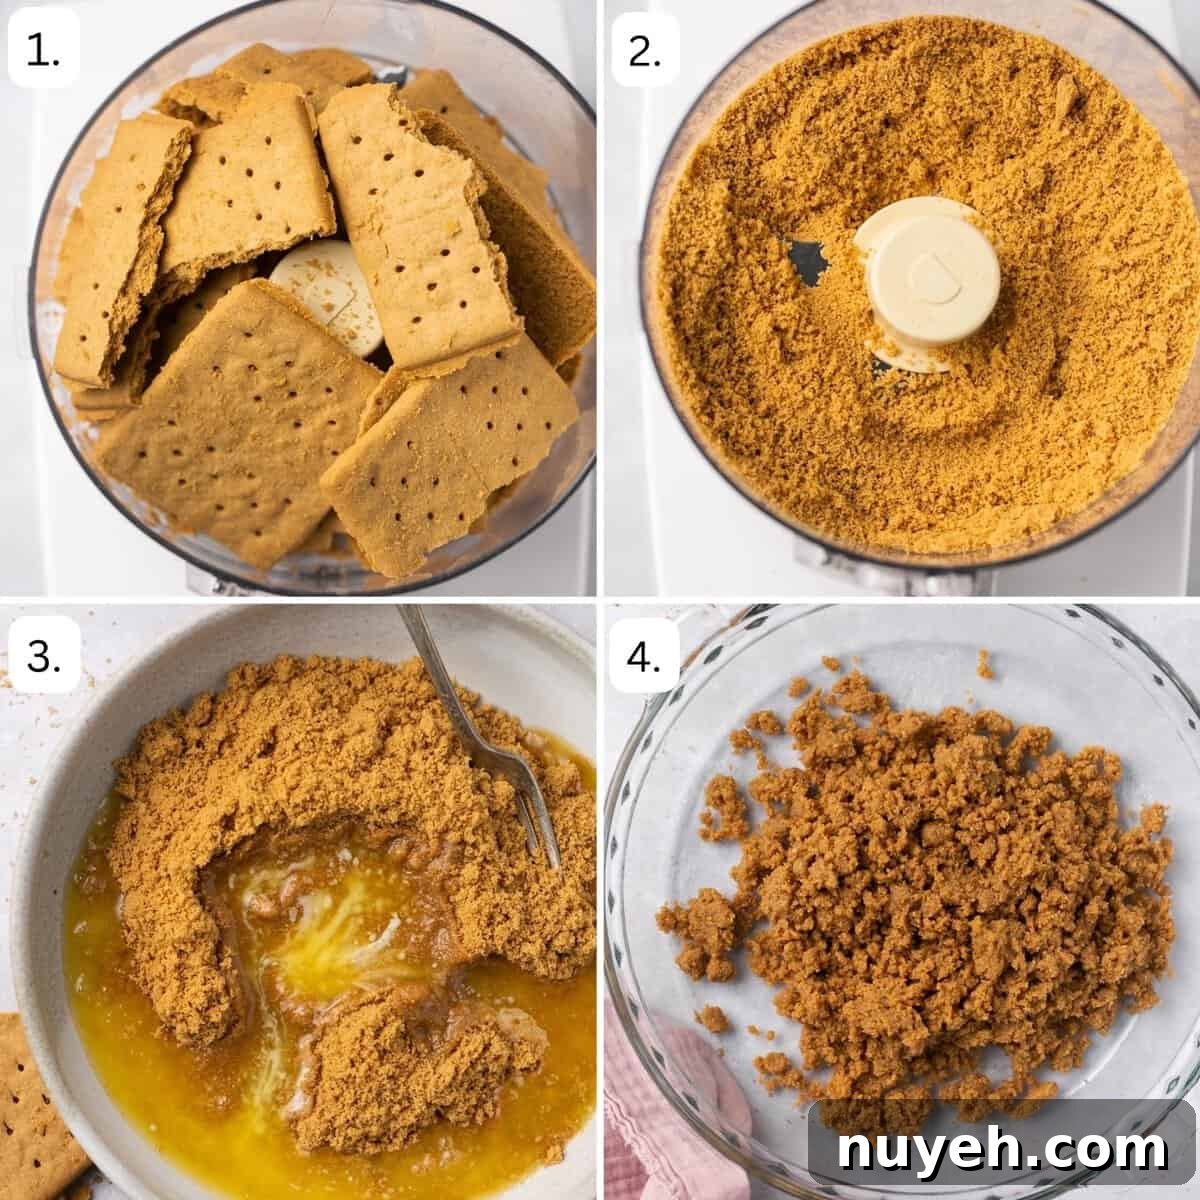
- Preheat oven to 350°F (175°C).
- Pulse gluten-free graham crackers in a food processor until they form fine crumbs with a sandy texture.
- Measure out 1.5 cups of graham cracker crumbs and combine with 6 tablespoons of melted butter. Mix until the crumbs are evenly moistened.
- Lightly spray a 9-inch pie pan with cooking spray. Press the graham mixture firmly into the bottom and up the sides of the pan. Use the bottom of a measuring cup to compact and even the crust. Chill in the refrigerator while you prepare the filling.
Gluten-Free Graham Cracker Crust Tips
Press firmly: Pack the crumbs tightly so there are no gaps; build up the sides for a sturdy crust.
No need to prebake: Chilling the crust helps it set. If you do bake it briefly, watch the edges and cover with foil if they darken too quickly.
Pumpkin Filling
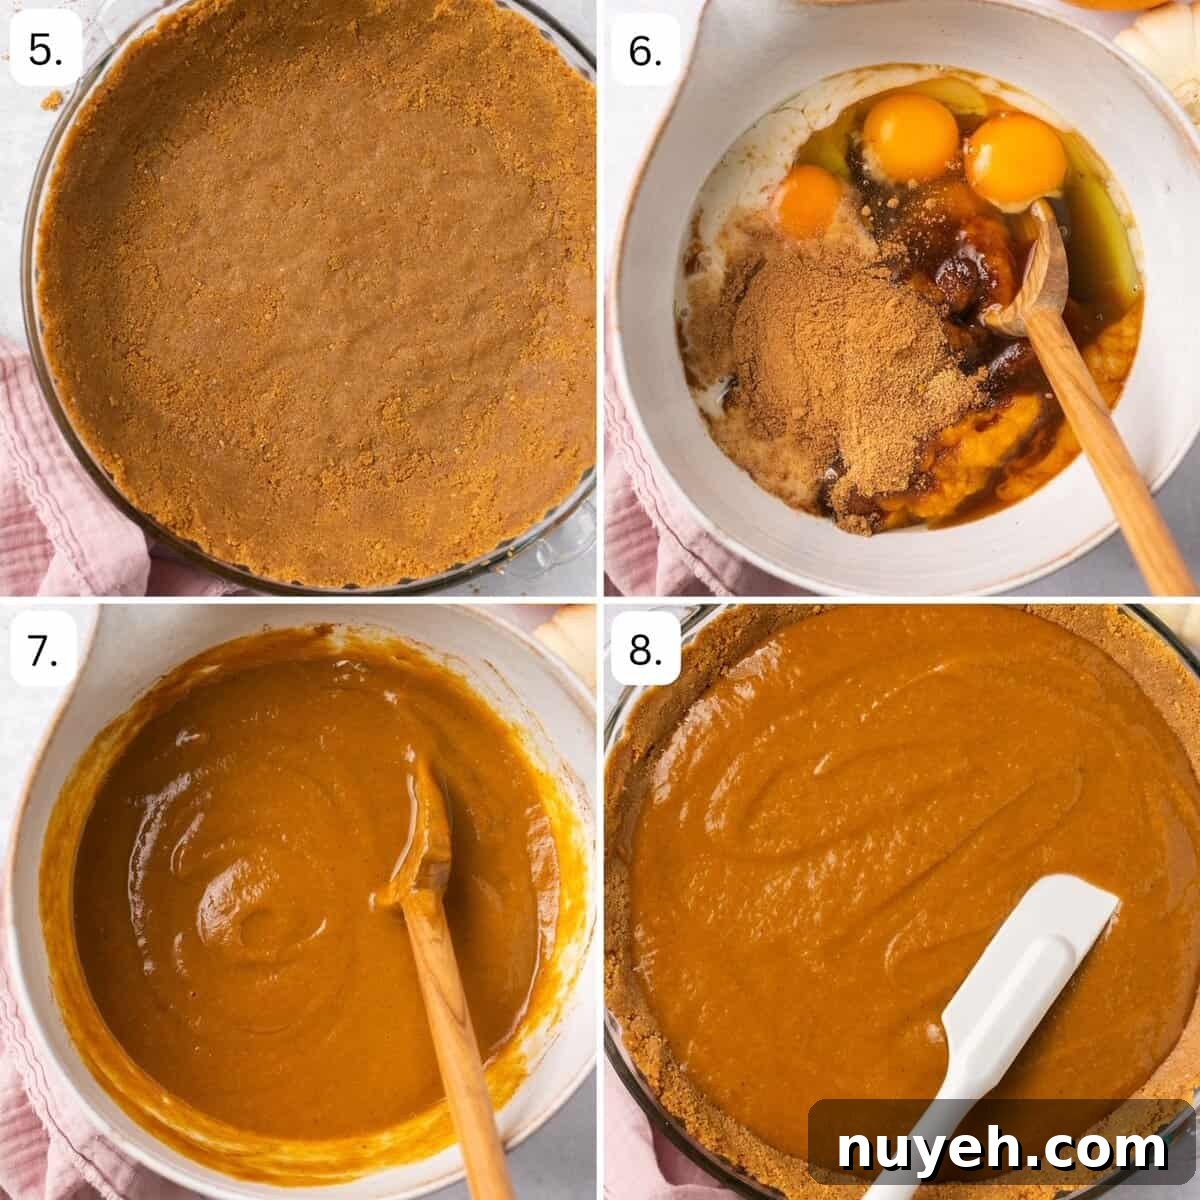
- In a large bowl, whisk together 1 can (15 oz) pumpkin puree, 3 large eggs, ⅓ cup maple syrup, ⅓ cup coconut sugar, 1 tsp vanilla extract, ¼ cup almond milk, and 1 tbsp + 1 tsp pumpkin pie spice until smooth.
- Pour the filling into the prepared crust and smooth the top with a spatula. Place the pie on a baking sheet to catch any spills.
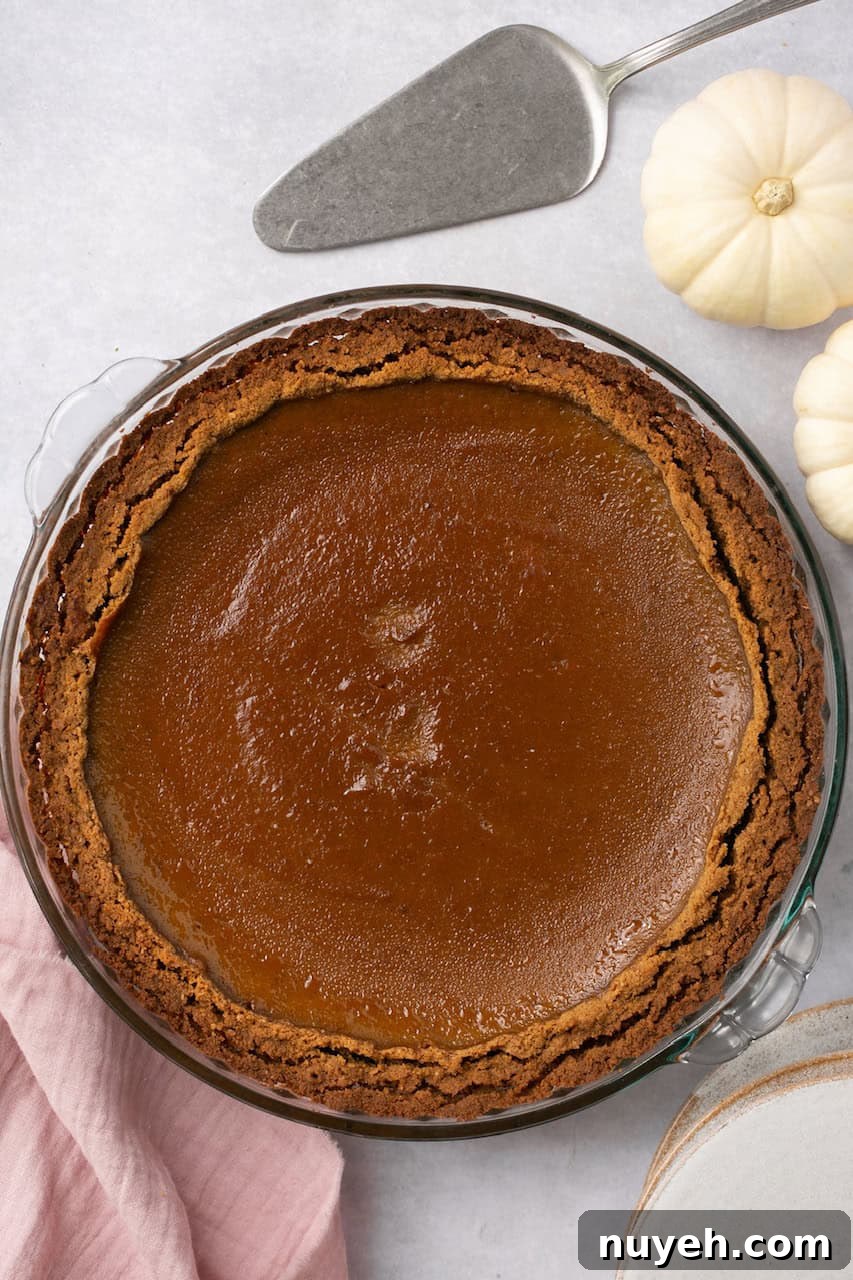
- Bake for 55–60 minutes at 350°F, or until the center is mostly set but still slightly jiggly—similar to a custard.
- Allow the pie to cool completely at room temperature, then refrigerate for at least 2 hours before slicing. Serve with whipped cream (dairy or non-dairy) and a sprinkle of pumpkin pie spice if desired.
Pumpkin Pie Filling Tips
Avoid overmixing: Stir until ingredients are combined; overworking the filling can incorporate too much air and lead to cracking.
Mary’s Tips & Tricks
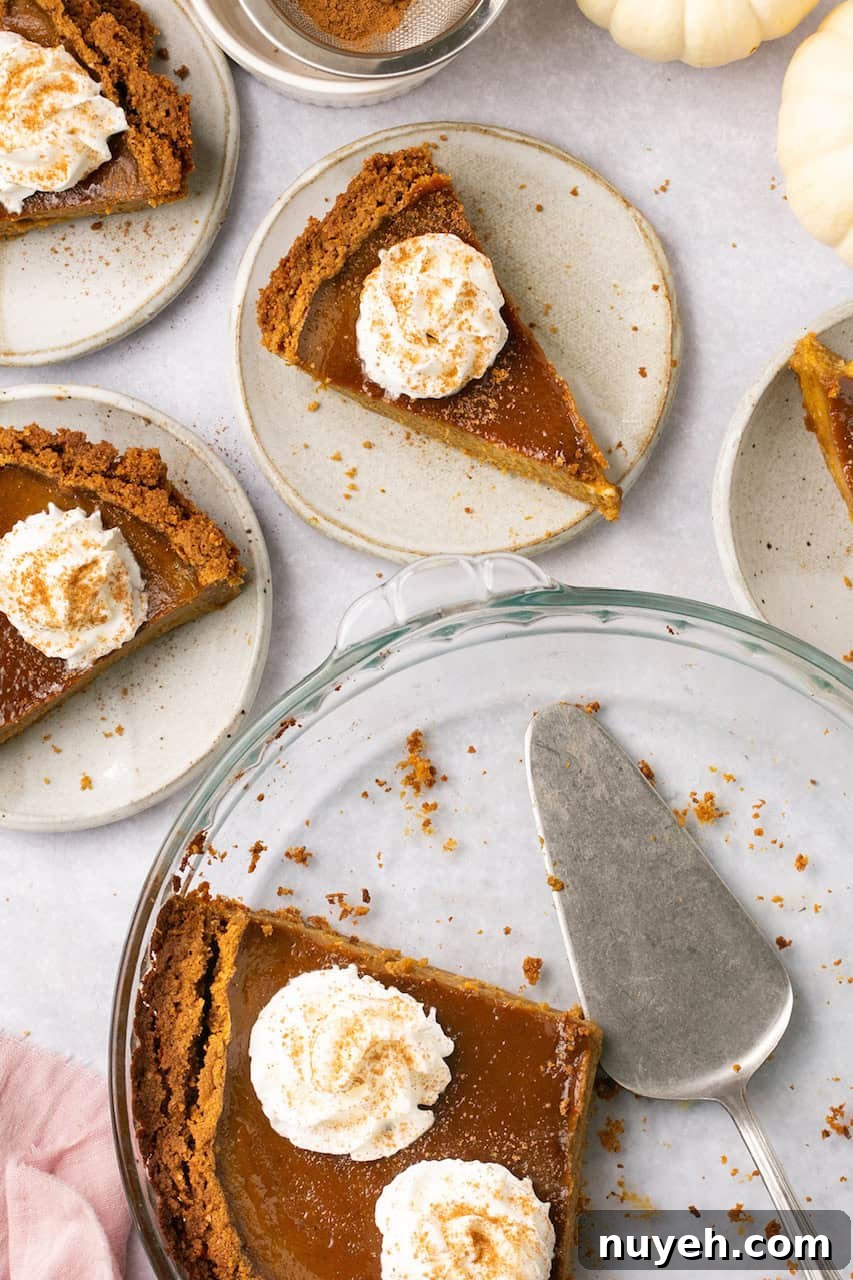
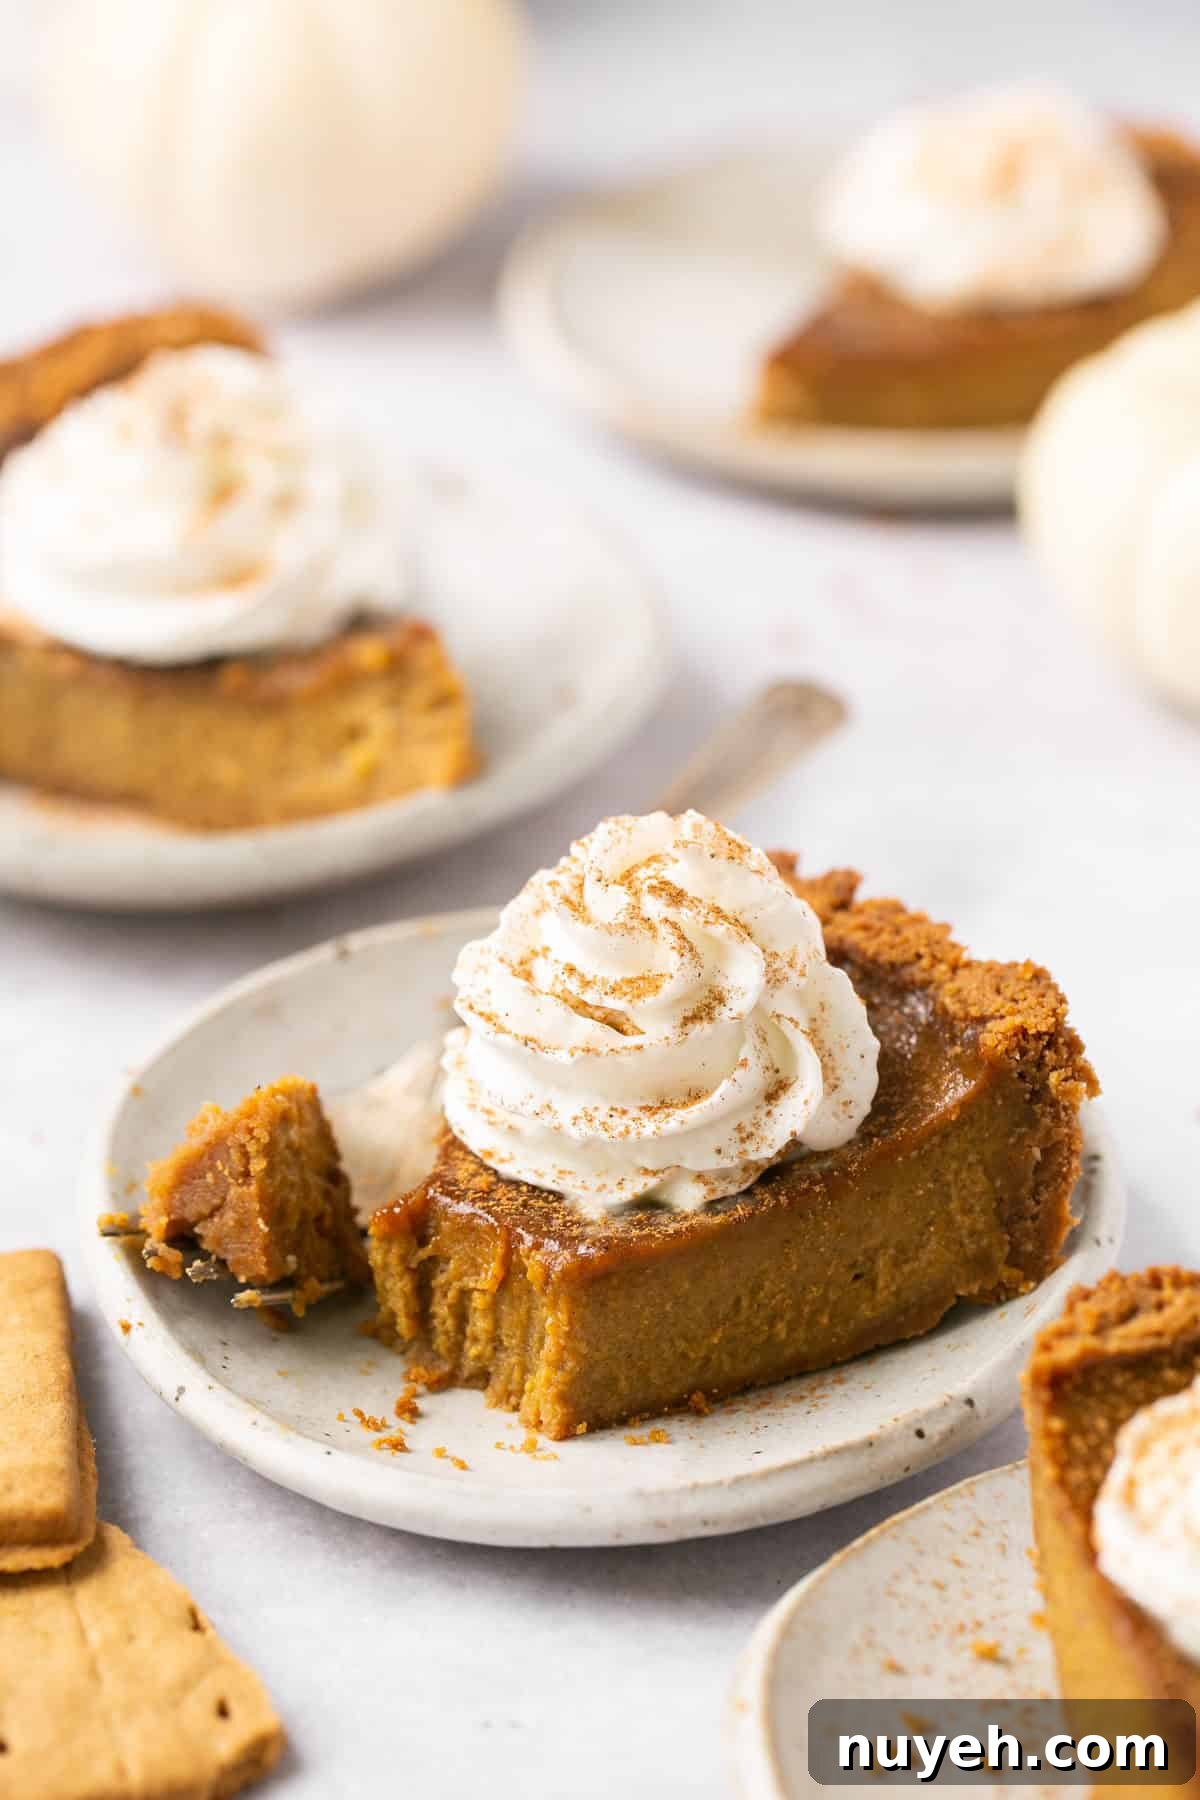
How to serve: Top slices with a dollop of whipped cream and a light dusting of pumpkin pie spice. The pie is excellent chilled or at room temperature.
Store-bought crust: If you prefer, you can use a gluten-free store-bought graham crust or a regular pie crust instead of making your own.
Storage: Keep leftover pie refrigerated. For the best texture, serve chilled or allow slices to come to room temperature briefly.
Dairy-free option: Replace butter with vegan butter and use a dairy-free milk to make the entire recipe dairy-free.
Recipe FAQs
Not all graham crackers are gluten free, but several brands make gluten-free versions. Check the label to confirm.
The center should be mostly set but still slightly jiggly—like a custard. It will continue to set while cooling.
Cracks often form when the pie cools too quickly. Let the pie cool completely at room temperature before refrigerating.
Yes. Cool completely, then freeze for up to 3 months (without whipped cream topping). Thaw overnight in the refrigerator.
Combine 2 tsp cinnamon, 1 tsp ginger, 1 tsp nutmeg, ¾ tsp cloves, and ¾ tsp allspice. Use 1 tbsp + 1 tsp for this recipe and save the rest.
Easy Pumpkin Pie with Graham Cracker Crust
Prep: 10 mins | Cook: 1 hr | Total: 1 hr 10 mins | Yield: 8 slices
Ingredients
- 1.5 cups gluten-free graham cracker crumbs
- 6 tbsp butter, melted (or vegan butter for dairy-free)
- 1 can (15 oz) pumpkin puree
- 3 large eggs
- ⅓ cup maple syrup
- ⅓ cup coconut sugar
- ¼ cup almond milk (or any milk of choice)
- 1 tsp vanilla extract
- 1 tbsp + 1 tsp pumpkin pie spice
Instructions
- Preheat oven to 350°F (175°C).
- Pulse graham crackers to fine crumbs, then stir in melted butter and press into a 9-inch pie pan. Chill while preparing filling.
- Whisk together pumpkin puree, eggs, maple syrup, coconut sugar, milk, vanilla, and spice until smooth.
- Pour filling into crust, place on a baking sheet, and bake 55–60 minutes until the center is mostly set.
- Cool completely, then refrigerate for at least 2 hours before slicing. Top with whipped cream if desired.
Notes
Serving: This pie is delicious served chilled or at room temperature. Add whipped cream or a sprinkle of extra spice for presentation.
Storage: Refrigerate leftovers and consume within several days for best quality. To freeze, wrap tightly and store up to 3 months; thaw in the refrigerator.
Make it dairy-free: Swap vegan butter for regular butter and use a non-dairy milk to keep this recipe dairy-free.
This recipe was originally posted on September 29, 2022 and updated with new content on November 2, 2023.