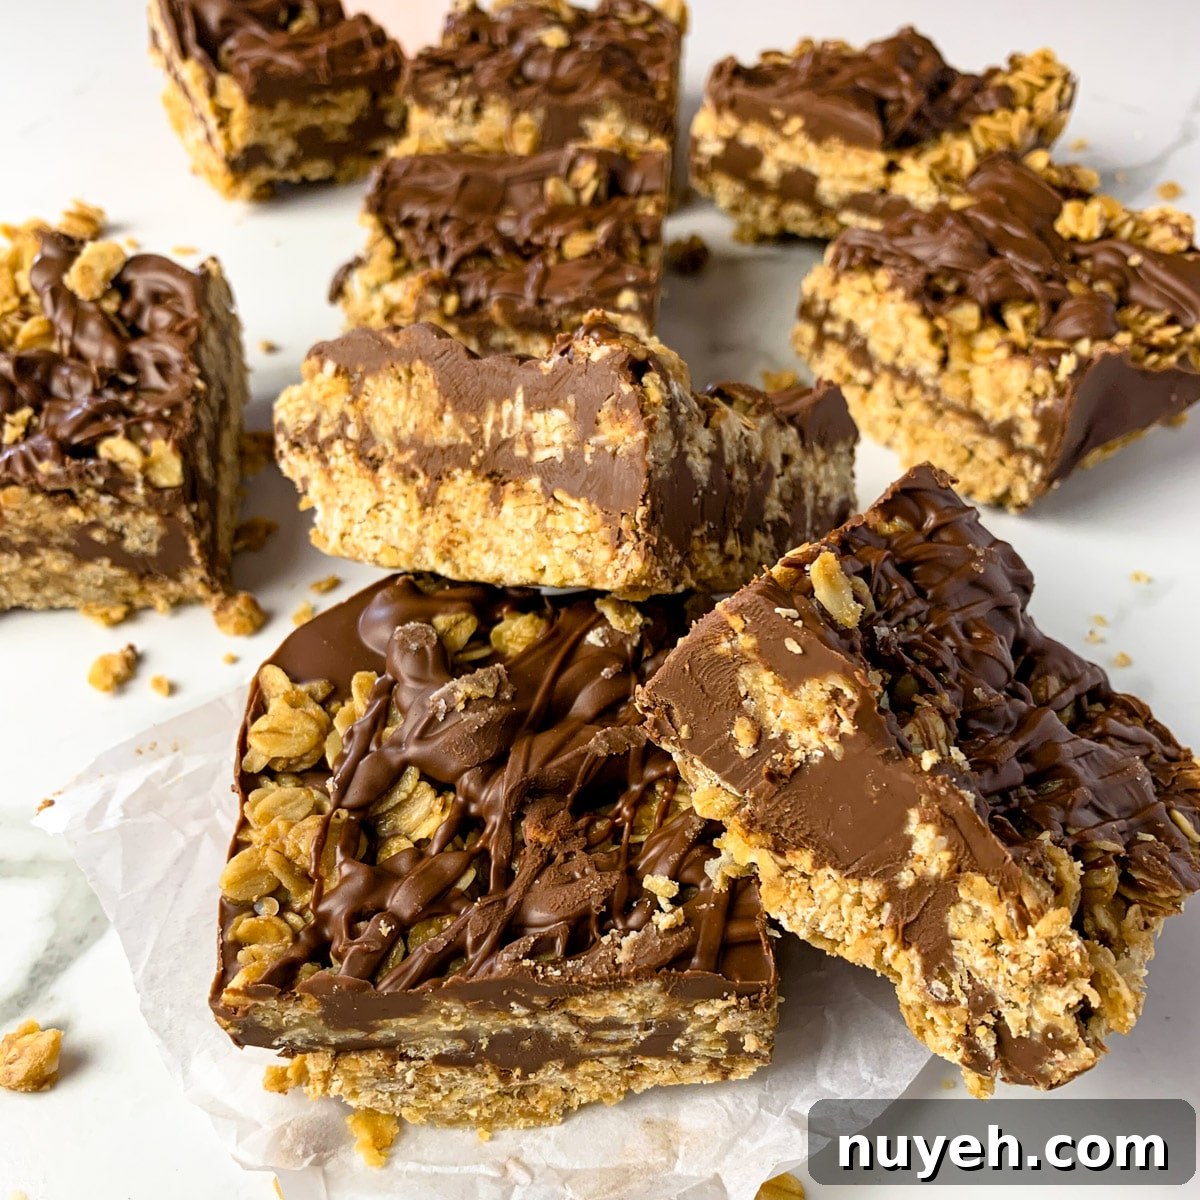
These easy no-bake chocolate peanut butter oat bars are a quick, satisfying sweet that require no oven. Rolled oats, creamy peanut butter and melted chocolate come together to create a chewy, gluten-free treat that can easily be made vegan by swapping the chocolate.
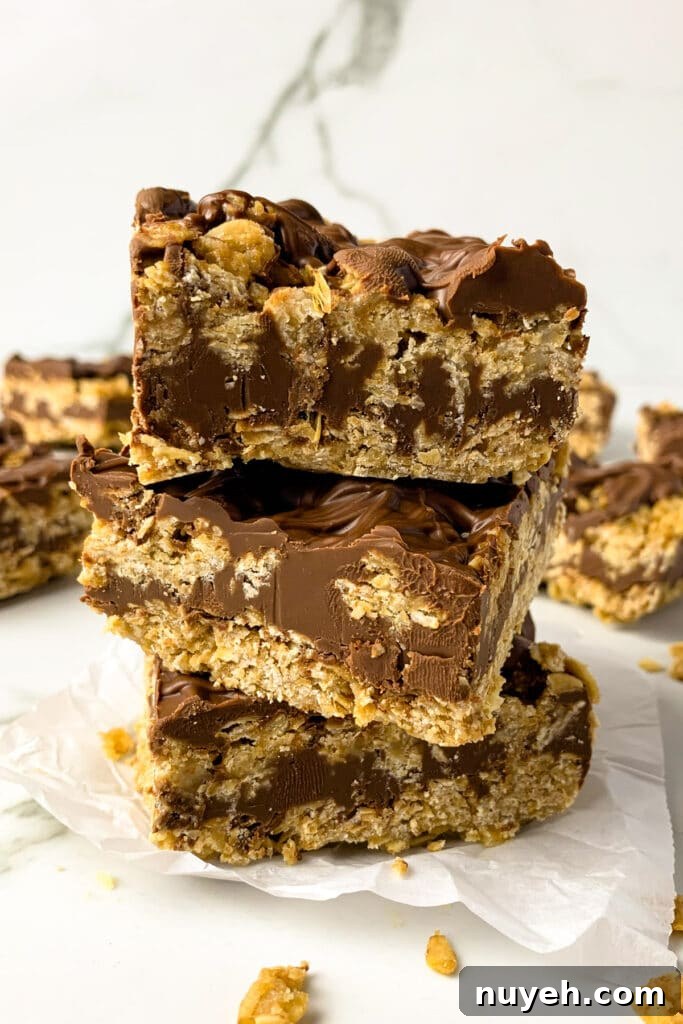
No-bake desserts are perfect when you want something delicious without fuss. This recipe is especially handy because it uses pantry staples—butter, brown sugar, oats, peanut butter and chocolate—and comes together in minutes. It’s a great choice for warm days, quick snacks, potlucks or lunchbox treats. The combination of oats and peanut butter gives the bars body and chewiness, while the chocolate layer adds richness that both kids and adults love.
Why You’ll Love These No-Bake Chocolate Peanut Butter Oat Bars
- Sweet, chewy texture with a creamy chocolate-peanut butter center.
- Simple ingredients and easy method—no oven required.
- Gluten-free when using certified gluten-free oats; can be made vegan with dairy-free chocolate and vegan butter.
- Makes a handy grab-and-go snack or dessert that travels well.
Ingredients for No-Bake Chocolate Peanut Butter Oat Bars
- 1 cup butter
- ½ cup brown sugar
- 2 tsp vanilla extract
- 3½ cups old-fashioned oats
- 1¼ cups chocolate chips (semisweet or choice of chocolate)
- ¾ cup creamy peanut butter
How to Make No-Bake Oat Bars with Chocolate & Peanut Butter
- Prepare the pan: Line an 8×8 or 9×9 inch square baking dish with parchment paper, leaving overhang to lift the bars out easily.
- Make the oat base: In a medium saucepan over medium heat, melt the butter with the brown sugar, stirring until the butter is melted and the sugar has dissolved. Remove from heat briefly to stir in the vanilla.
- Combine oats: Return to low heat and gradually mix in the oats. Cook and stir for about 3 to 3½ minutes until the mixture is well combined and slightly glossy. Remove from heat.
- Form the crust: Evenly press half of the oat mixture into the prepared pan, pressing firmly to create a compact layer.
- Make the chocolate-peanut filling: In a microwave-safe bowl, melt the chocolate chips and peanut butter together in 20–30 second bursts, stirring between each, until smooth and combined. Alternatively, melt gently in a double boiler.
- Assemble: Reserve about one quarter of the chocolate mixture for drizzling. Pour the remaining chocolate-peanut mixture over the oat crust and spread it evenly.
- Top and finish: Sprinkle or press the remaining oat mixture over the chocolate layer, pressing gently to adhere. Drizzle the reserved chocolate over the top for a finished look.
- Chill: Refrigerate for 1–2 hours or until the bars are fully set. Use the parchment overhang to lift the slab from the pan, slice into bars, and serve.
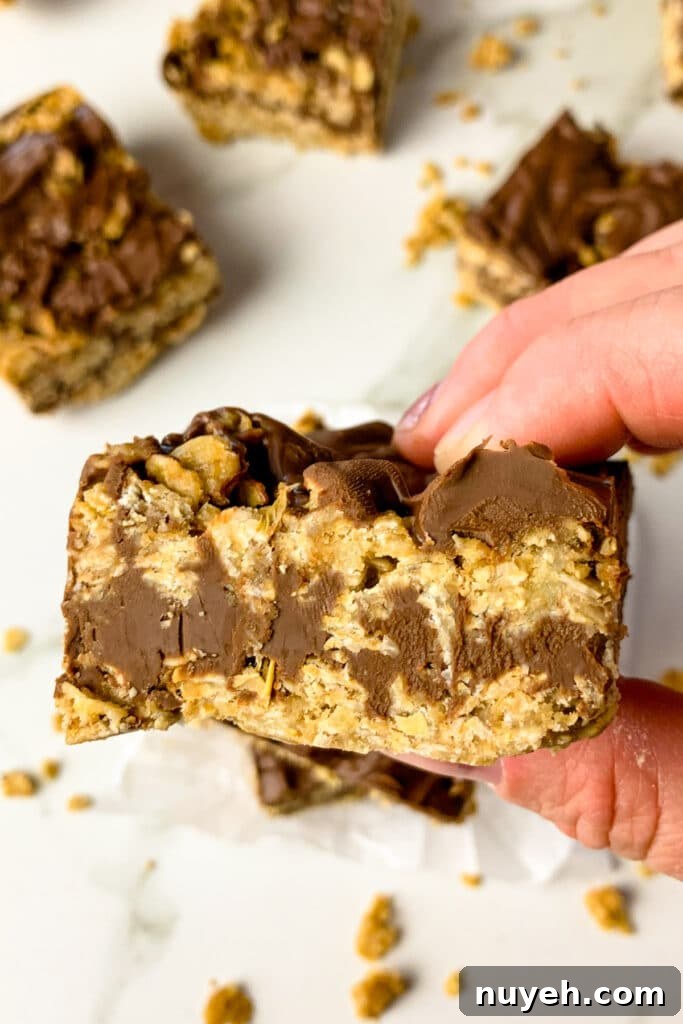
What to Serve or Pair with These Bars
These bars are satisfying on their own, but you can pair them to make a more complete snack or light breakfast. Try a side of fresh berries or a small bowl of Greek yogurt for balance, or serve with crunchy pretzels for a sweet-and-salty contrast. They also pair nicely with a simple trail mix or a glass of milk (dairy or plant-based).
Popular Substitutions & Additions
Swap creamy peanut butter for almond, cashew or sunflower seed butter if you prefer. Use dark or semi-sweet chocolate instead of milk chocolate for a less sweet bar. For extra texture, sprinkle shredded coconut, chopped nuts or a few chocolate chips on top before chilling.
Storage & Leftovers
Store cut bars in an airtight container in the refrigerator. They will keep well for up to 3 days. If you prefer a softer texture, let the bars sit at room temperature for 10–15 minutes before eating.
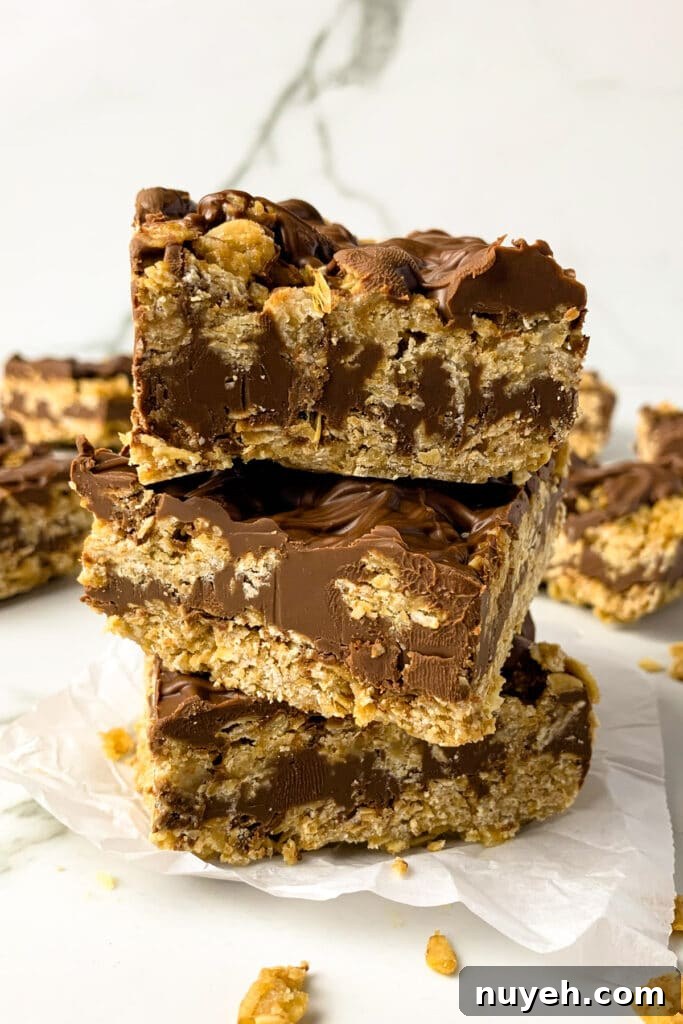
No-Bake Oat Bars with Chocolate and Peanut Butter — FAQs
Can I use quick oats instead of old-fashioned oats?
Yes, quick oats will work, but the texture may be softer and slightly less chewy than when using old-fashioned rolled oats.
How can I make these bars vegan?
To make the bars vegan, use a plant-based butter substitute and vegan chocolate chips. Ensure the peanut butter and oats are certified vegan if needed.
How do I prevent the bars from crumbling?
Press the bottom oat layer firmly and evenly into the pan so it binds well. Let the bars chill until fully set before cutting. Cutting with a sharp knife warmed under hot water and wiped dry between slices can also help create clean bars.
Other No-Bake Recipes You’ll Love
- No Bake Pumpkin Cheesecake Trifle
- Skinny No Bake Oreo Cheesecake Bites
- No Bake S’Mores
Notes: Nutrition information is an estimate and for general guidance only. I am not a certified nutritionist; treat any nutritional numbers as approximate.
Have you tried this recipe? Please rate and comment below — your feedback helps other readers. If you share on Instagram, tag @modernmealmakeover and use the hashtag #modernmealmakeover so others can see your creation.