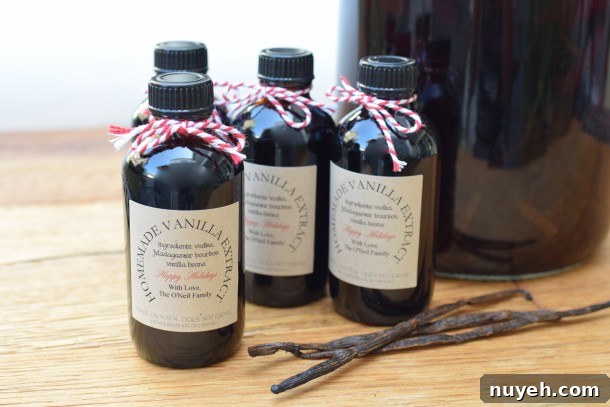
Is it too early to start thinking about the Christmas holidays? Absolutely not. Do I do any holiday shopping before Labor Day? No way. I might plan meals for the week, but I am the parent who’s frantically searching for electrical tape on Halloween morning to finish a last-minute Batman costume.
Still, here’s a holiday idea you can start now: DIY vanilla extract. It takes minutes to assemble but needs weeks to steep, so making it well ahead of time is a smart move. If you wait until November, you’ll be too busy with Thanksgiving to brew a rich, ready-to-gift extract.
Last year my assistant Lauren gave me a bottle of homemade vanilla extract, and I loved it. Homemade food gifts are thoughtful, and vanilla is something I use often, so it felt both indulgent and practical. Vanilla brings a natural sweetness and depth to baked goods and desserts without adding sugar. If you buy commercial extract instead of making your own, check the label carefully—some products labeled “pure” contain additives like corn syrup solids, so it pays to read ingredients.
Lauren walked me through her process and shared tips for pretty presentation. Here’s what you’ll need to make and gift vanilla extract:
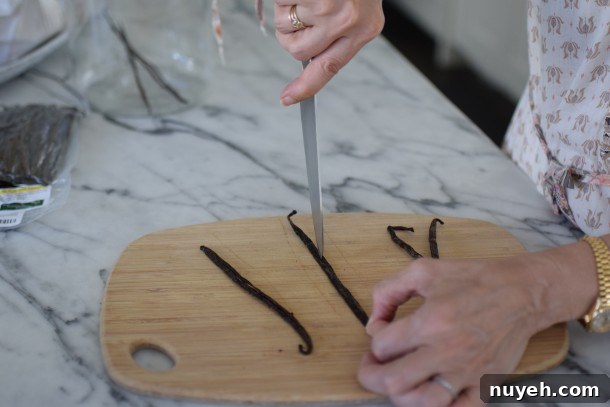
Grade B vanilla beans: Grade B beans are drier than Grade A and ideal for extract because they have concentrated flavor but are not as suited to direct culinary use. I used Madagascar bourbon vanilla beans, which are prized for their rich, rounded flavor. “Bourbon” here refers to the vanilla variety from the Indian Ocean region, not the spirit.
Vodka: Choose a neutral 80-proof vodka—there’s no need to buy top-shelf. Vodka extracts the flavor compounds cleanly without adding competing flavors. For a typical batch, plan on a couple of bottles depending on how much extract you want to make.
Large glass jar: Use a clean, airtight glass jar to brew the extract. A one-gallon jar works well for larger batches. Glass won’t react with the alcohol and keeps the flavor pure as the beans steep.
For packaging and gifting:
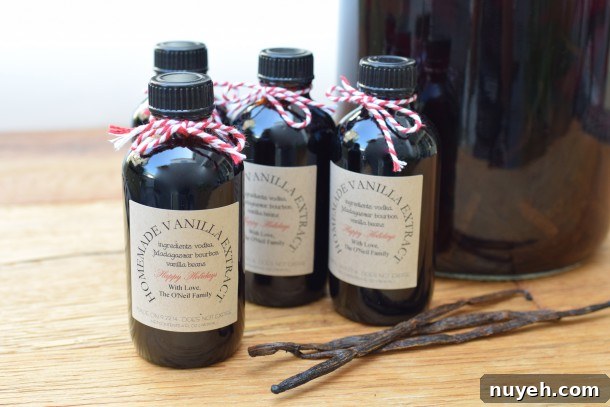
Glass bottles: Four-ounce bottles are a classic size for gifting vanilla extract. Dark glass is preferable for long-term storage because light can degrade extracts over time, though clear glass is fine while you’re brewing.
Labels: Personalized labels make the gift feel special and ensure your extract is clearly identified. Printable kraft labels or small pre-made labels work well if you want a consistent look.
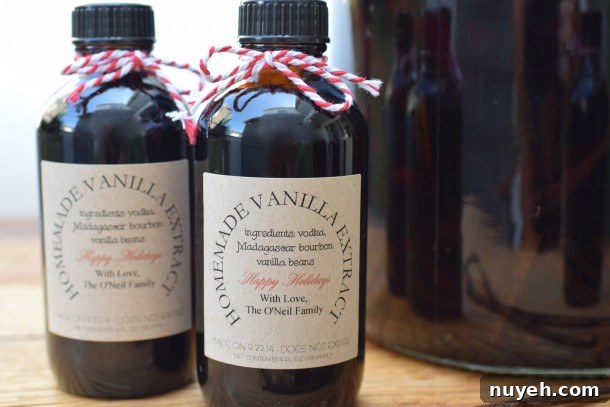
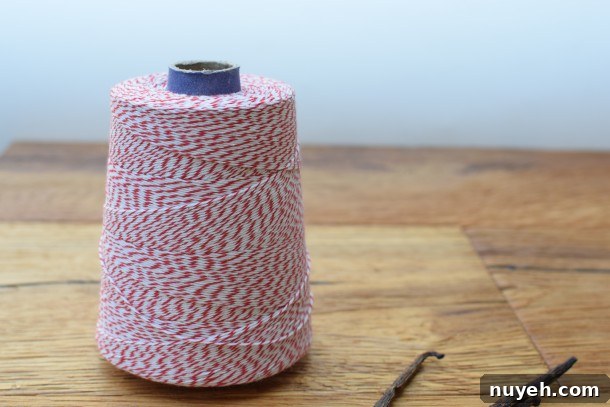
String or twine: A bit of baker’s twine adds a charming finishing touch. Red twine is festive for the holidays, but choose any color that fits your presentation.
How to make the extract:
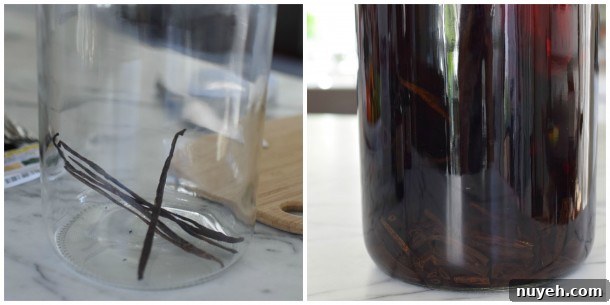
1–2 months before you plan to gift or use the extract, start the batch. A reliable ratio is 4 whole vanilla beans per 8 ounces (1 cup) of vodka. Split each bean lengthwise to expose the interior and place them in your brewing jar.
Pour vodka over the beans so they are fully submerged. Seal the jar tightly, give it a gentle swirl, and store it at room temperature away from direct light and heat. Let it steep for at least 4 weeks; 6–8 weeks produces a deeper, more developed flavor. The mixture will gradually darken as it infuses.
When the extract has reached the color and aroma you like, decant it into smaller bottles for gifting. Tuck a piece of bean into each bottle for appearance and to continue developing flavor. As you use a bottle, you can top it up with a little vodka to keep the extract going—vanilla extract stores indefinitely when kept in a cool, dark pantry.
You can also add scraped vanilla beans (the pods left after you’ve scraped the seeds for other recipes) into the brewing jar to deepen the flavor and reduce waste.
Storage tips: Keep finished bottles out of direct light and away from heat sources. Do not refrigerate; room-temperature storage in a pantry is best.
Have you made extracts before? Vanilla is an easy starting point, and once you’ve made your first batch you may find other extracts—like almond or citrus—are fun to experiment with next.